
How to Sell on Amazon in 2026: Complete Step-by-Step Guide
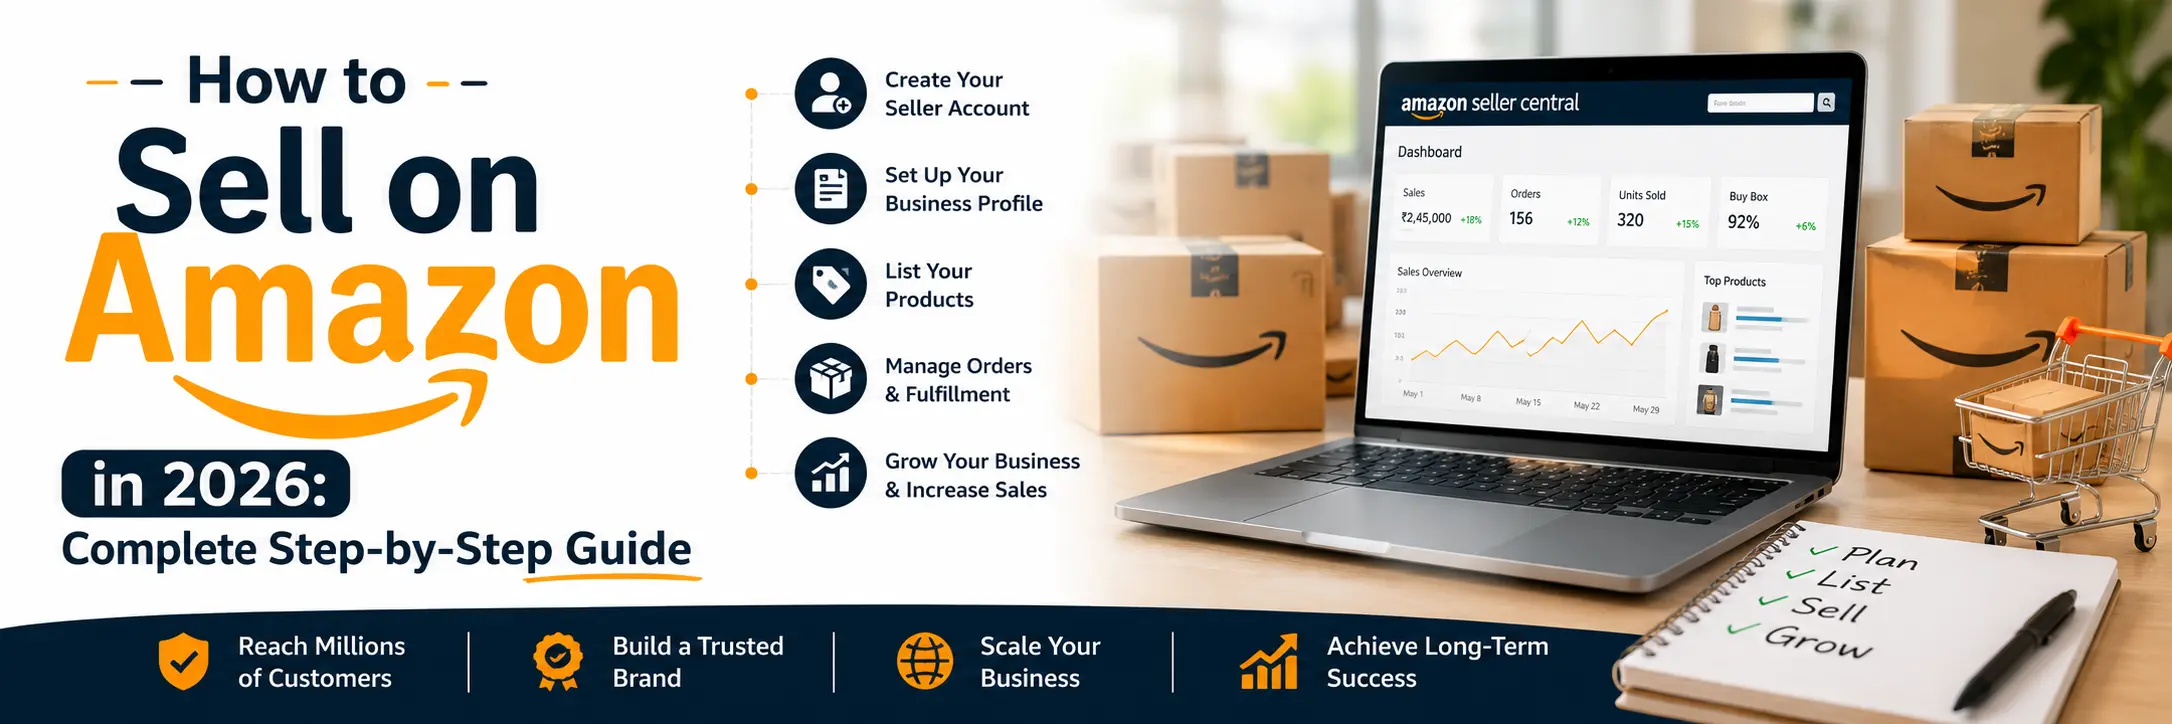
Reviewed by the Sell Technical team — we manage Amazon seller accounts for brands across India and internationally.
Every year, thousands of first-time sellers open a Seller Central account, upload a handful of products, and then stall out somewhere between fee confusion and a suppressed listing. The platform hasn’t gotten simpler — Amazon’s fee structure, Buy Box logic, and compliance rules shift often enough that advice from even a year ago can be outdated.
This guide walks through how to sell on Amazon in 2026 — from account setup to your first 90 days — based on what actually matters right now, not what used to work.
Quick Overview: What This Guide Covers
You’ll go from zero to live seller through registration, choosing a selling plan, listing your first products, understanding fees, picking a fulfillment method, and setting up your first ad campaigns. Along the way, we’ll flag the parts that trip up most new sellers — especially Indian sellers navigating GST and local compliance on top of Amazon’s own requirements.
1. Before You Begin: Prerequisites and Decisions
A few things to sort out before you touch Seller Central:
- Legal structure — sole proprietorship, partnership, or Pvt Ltd/LLC — with your PAN and business registration ready
- GST registration — this is where a lot of Indian first-timers get caught off guard: GST registration is mandatory for online sellers in India regardless of turnover, unlike offline retail where a threshold applies
- A business email and a phone number that can receive OTPs
- A bank account in the payout currency for your target marketplace
- A decision on fulfillment model — FBA or FBM — since this affects your setup steps later
2. Choose Your Selling Plan
Amazon offers two main account types:
Individual (pay-per-sale): lower upfront commitment, but you pay a per-item fee on every sale. Reasonable for testing the waters with a handful of products.
Professional: a flat monthly subscription that unlocks bulk uploads, API access, advertising tools, and Buy Box eligibility. If you’re serious about building a real Amazon business, Professional is the only practical option — the Individual plan simply can’t compete on visibility.
Plan names and exact fees vary slightly by marketplace, so confirm current numbers directly in Seller Central before committing.
3. Create Your Seller Central Account
- Go to Amazon’s official seller registration page and select “Start selling”
- Fill in your business details — legal name, address, bank details, tax information, and identity documents
- Complete identity verification (this usually involves an OTP and video or ID verification)
- Configure your basic settings: shipping templates, return policy, and tax settings
Amazon’s own onboarding flow lists exactly which documents it needs at each step — read those carefully, since incomplete documentation is one of the most common reasons registration gets delayed.
4. Understand Fees and Calculate Real Profitability
Before you list a single product, know what you’re actually paying for:
- Referral fees — a percentage of each sale, varying by category
- Selling plan fees — the monthly Professional subscription cost
- FBA fees — fulfillment and storage costs, which include seasonal adjustments around peak shopping periods
- Advertising spend, returns, and any special service fees
Amazon seller fees change often enough that a margin calculation from last year won’t hold up today. Run the full math — product cost, shipping to Amazon, all fees, expected PPC spend, and a realistic return rate — using Amazon’s own revenue calculator before you commit inventory to any product.
5. Listing Products: The Essentials
- Product identifiers — UPC, GTIN, EAN, or ISBN, required for most categories
- Title structure — brand, model, key feature, then size or color, with the most important terms placed early
- Bullet points — lead with the benefit, keep them scannable, and put your strongest keywords in the first line or two
- Images — a clean white-background main image plus lifestyle and detail shots that follow Amazon’s image specifications
- Backend search terms and attributes — fill every relevant field; this is what makes your listing discoverable beyond just the title
If you’re creating a brand-new ASIN, double-check every required field before publishing — missing or inconsistent data is the fastest route to a suppressed listing.
6. Fulfillment: FBA vs FBM
FBA (Fulfillment by Amazon): Amazon stores, picks, packs, and ships your orders, and handles returns and customer service. It comes with the Prime badge and generally better Buy Box odds, but storage and fulfillment fees add up, especially for slow-moving inventory.
FBM (Fulfilled by Merchant): you handle storage and shipping yourself. This gives you more control and can be cheaper for large or low-margin items, but you’re on the hook for meeting Amazon’s delivery speed expectations.
Amazon FBA vs FBM isn’t always an either/or decision — plenty of established sellers run FBA for fast-moving SKUs and FBM for bulkier, slower items where fulfillment fees would eat the margin.
7. Brand Registry and Enhanced Content
If you hold a registered trademark on your brand, enrolling in Amazon Brand Registry unlocks A+ Content, Brand Stores, deeper reporting, and stronger protection against counterfeit or unauthorized listings. You’ll need proof of your trademark to register, so this is worth starting early if brand protection matters to your long-term strategy.
8. Launch Strategy: Your First 30–90 Days
- Pre-launch: get inventory in place, finalize your keyword list, and prepare your creative assets
- First two weeks: run Sponsored Products campaigns (both automatic and manual) to start collecting impressions and sales data
- Reviews: use Amazon’s built-in “Request a Review” button and any Brand Registry-approved programs available to you — anything involving incentivized reviews outside Amazon’s own policies risks account suspension
- Watch your numbers: conversion rate, ACOS, return rate, and inventory health should all inform how you adjust pricing and bids over the following weeks
9. Winning the Buy Box in 2026
Amazon weighs several signals when deciding who wins the Buy Box: fulfillment method (FBA generally helps), your landed price including shipping, seller performance metrics like on-time delivery and Order Defect Rate, inventory availability, and overall customer experience. Competitive pricing combined with fast shipping and clean account metrics is still the most reliable formula.
10. Protecting Account Health
- Check your Account Health dashboard regularly for policy violations, late shipment rate, and Order Defect Rate
- Keep every listing compliant with category rules, and make sure product condition is represented accurately
- Respond to policy warnings quickly, and keep documentation ready in case you ever need to file an appeal
Account suspensions are rarely sudden — they’re usually the result of small, unaddressed issues that compounded over weeks or months.
11. Scaling Once You’re Stable
Once conversion and ad profitability are consistent, expand your SKU count, layer in traffic from outside Amazon (Google Shopping, Instagram, influencer partnerships), and consider Amazon Stores, A+ Content, or international expansion into markets like the US, UK, or EU once you have a repeatable playbook working in your home market.
FAQs — Shopify Website Maintenance Cost in India
Do I need a registered business to sell on Amazon, or can I sell as an individual?
How much does it cost to sell on Amazon?
How do I start selling on Amazon with no experience?
How long does Amazon seller account approval take?
What's the safest way to get my first reviews?
Is FBA worth it for small sellers?
How long before I make my first sale?
This depends heavily on your category, listing quality, and pricing. Some new listings with solid PPC and SEO see sales within days; others take a few weeks of iteration to find traction.
How do I handle GST and invoicing as an Indian seller?
GST registration is mandatory for e-commerce sellers in India regardless of turnover. You’ll need to configure tax settings in Seller Central and issue GST-compliant invoices — working with an accountant familiar with e-commerce is worth it here.