
Flipkart Onboarding Service: Get Your Seller Account Live, Without the Guesswork
What A Flipkart Onboarding Service Actually Handles
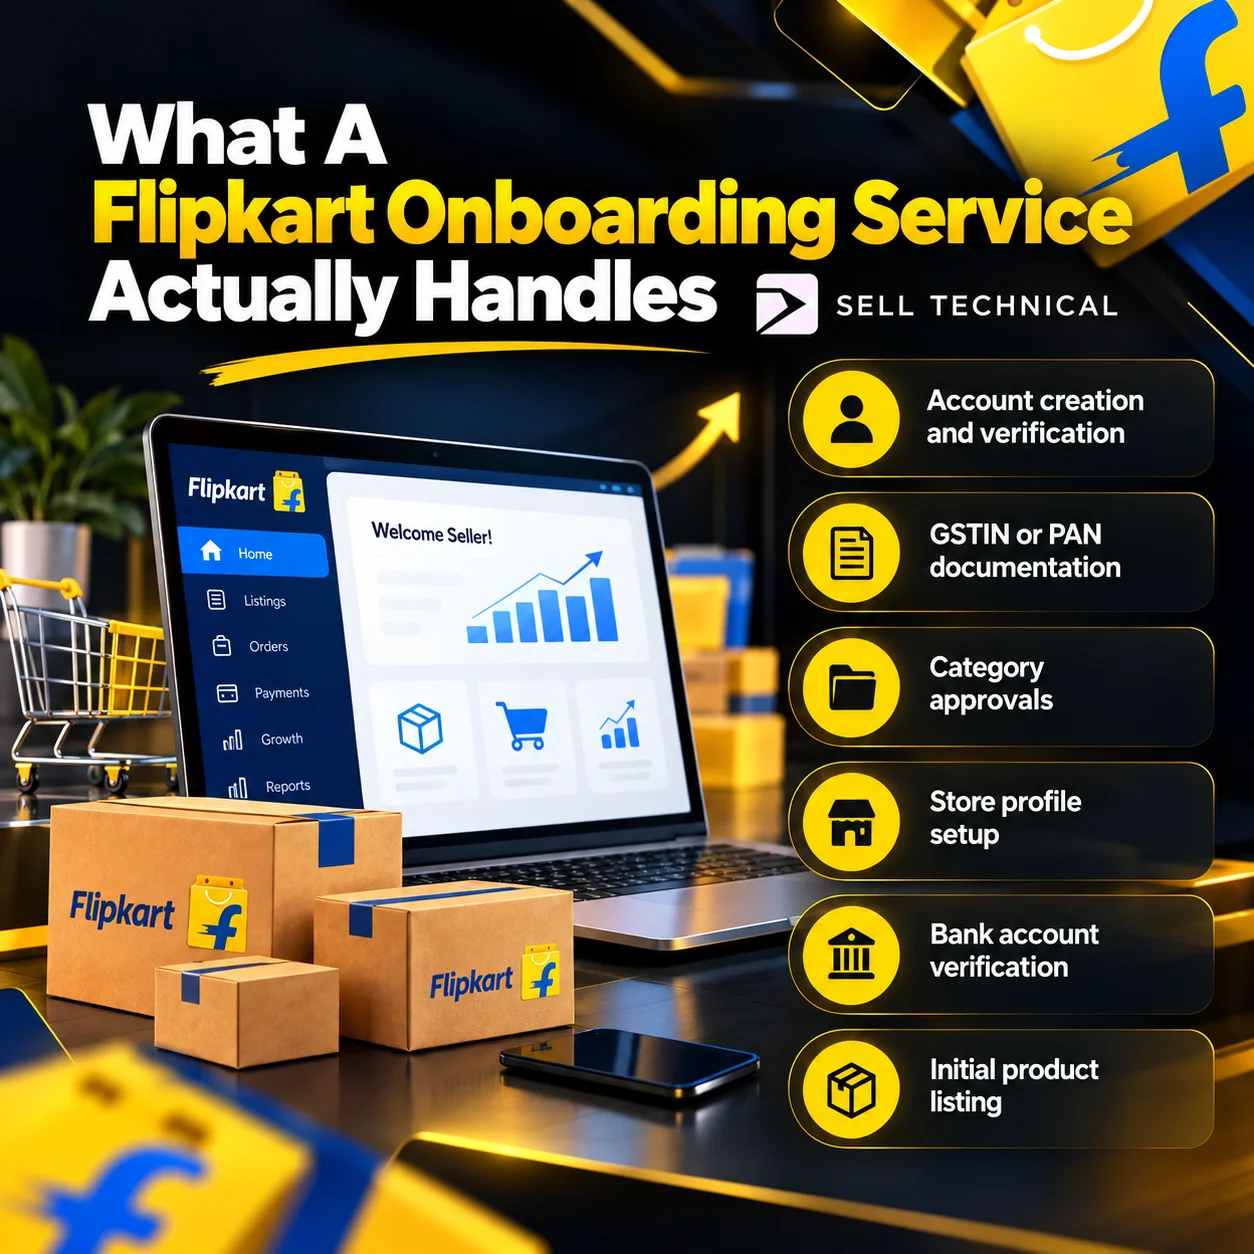
Onboarding isn’t just filling in a form. It’s making sure everything’s structured correctly the first time, so you’re not fixing avoidable mistakes three weeks after going live:
- Account creation and verification — mobile, email, and business identity set up correctly from the start
- GSTIN or PAN documentation — prepared and verified against your bank details before submission, since mismatches here are one of the most common causes of delay
- Category approvals — some categories (electronics, jewellery, and a handful of others) require extra approval steps that catch first-time sellers off guard if they’re not planned for
- Store profile setup — store name, description, and pickup address configured properly the first time
- Bank account verification — account number and IFSC matched precisely to your GSTIN details for smooth payment disbursement
- Initial product listing — your first products live and correctly categorized, so you’re not starting with an empty storefront
Why Flipkart Is Worth the Registration Effort
None of that is guesswork or a marketing number — it’s the operational reality of how the platform is structured, and it’s why getting the onboarding right the first time is worth the extra week it might take.
The Flipkart Seller Registration Process, Step by Step
Initial registration
Mobile number and email verification to create the base account.
Business and tax details
GSTIN (for most categories) or PAN (books-only sellers), a secure password, and your seller display name.
Profile completion
E-signature, store name and description, and pickup address with pincode.
Bank details
Account number and IFSC code — these need to match your GSTIN registration exactly, or payment disbursement gets delayed.
Initial product listing
Your first products added with proper descriptions and images so the store isn't launching empty.
Documents You'll Need
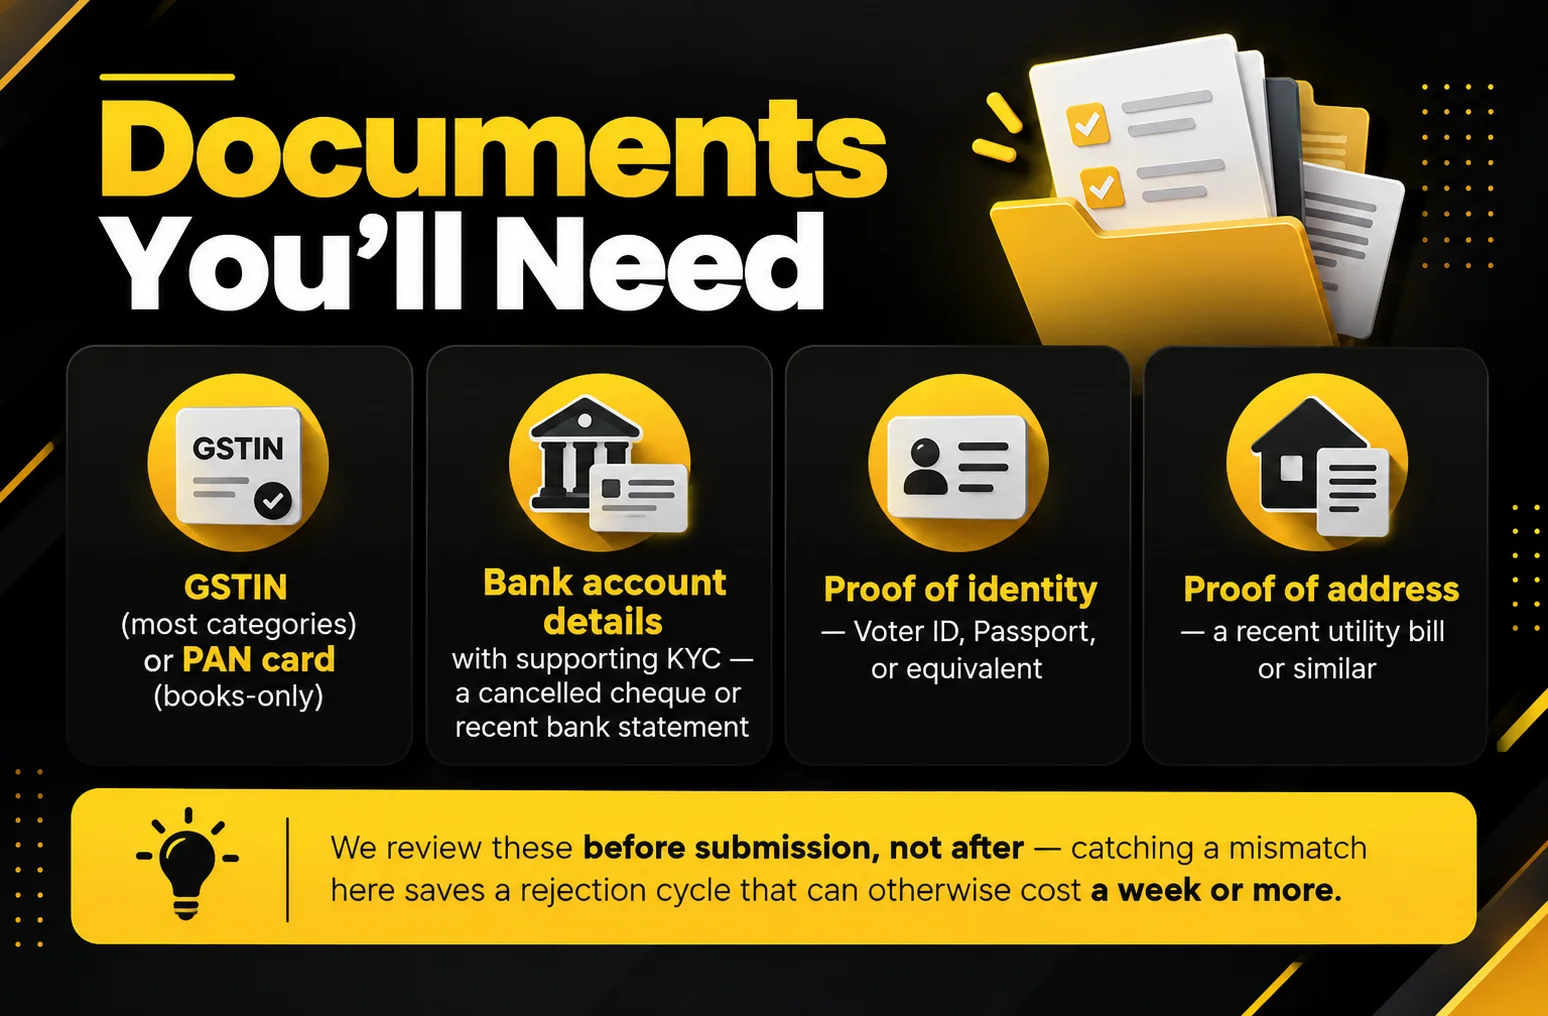
- GSTIN (most categories) or PAN card (books-only)
- Bank account details with supporting KYC — a cancelled cheque or recent bank statement
- Proof of identity — Voter ID, Passport, or equivalent
- Proof of address — a recent utility bill or similar
Timing Your Onboarding Around Flipkart's Sale Season
If the goal is to be live in time for Big Billion Days or another major festive-season event, timing matters more than most new sellers expect. Category approvals can take longer than the base registration, and Flipkart typically tightens review timelines as a major sale approaches, since they’re processing a higher volume of new sellers at once. Starting onboarding 4–6 weeks ahead of a target sale window gives enough buffer for a category approval delay or a documentation resubmission without missing the event entirely.
Sellers who start the week before a sale are usually not choosing to cut it close — they just didn’t know the approval timeline could stretch. We plan backward from your target launch date specifically to avoid that.
Why Sellers Work With Us Instead of Going Solo
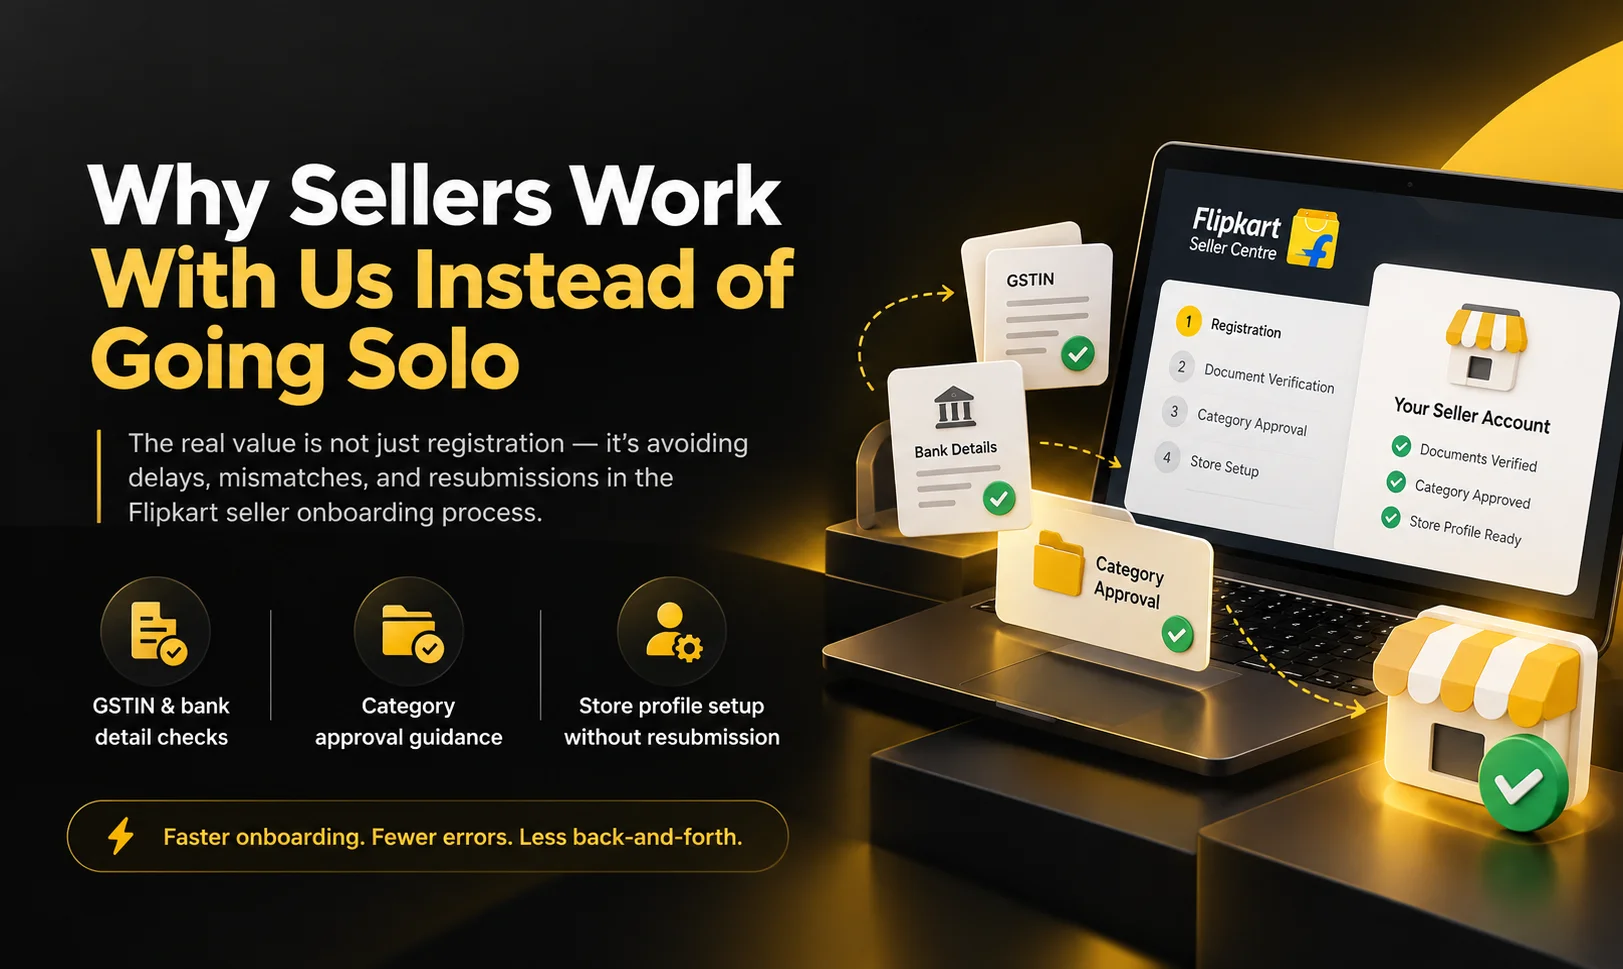
Most of what slows down a solo registration isn’t the difficulty of any single step — it’s not knowing which detail will get flagged until it already has been. We’ve been through enough Flipkart registrations to know where mismatches happen (GSTIN-to-bank details, most often), which categories need approval buffers built in, and what a store description needs to look like to get approved without a resubmission. That’s the actual value of the Flipkart seller onboarding process we run — not doing something you couldn’t technically do yourself, but doing it without the two weeks of back-and-forth that usually comes with a first attempt.
FAQs: Flipkart Onboarding Service
What documents do I need to start selling on Flipkart?
A GSTIN for most categories (or a PAN card for books-only), bank account details with KYC support like a cancelled cheque, proof of identity, and proof of address. We check these for consistency before submission to avoid rejection delays.
How long does Flipkart seller registration actually take?
Flipkart’s own registration steps can be completed quickly once documents are in order. The variable is usually documentation — a GSTIN/bank mismatch or a category approval can add a week or more if it’s not caught upfront. We plan for that buffer rather than promising a date we can’t guarantee.
Are there any fees to register as a Flipkart seller?
No registration fee. Flipkart charges commission, fixed, collection, and shipping fees once you start selling. Our Flipkart Seller Fee Calculator gives you a realistic estimate before you launch.
Do you help with product listings during onboarding, or is that separate?
We get your first products listed as part of onboarding so your store isn’t empty at launch. Ongoing listing optimization, keyword strategy, and catalog management sit under our dedicated Flipkart listing service.
Can you help if I'm already registered but the setup wasn't done properly?
Yes. We regularly fix incomplete or incorrectly configured accounts — wrong category placement, mismatched bank details, or an unfinished profile — without requiring a full re-registration.
How does Flipkart pay sellers?
Flipkart collects customer payments and disburses to your registered bank account, typically within 7–15 business days of dispatch.
Send Us a Message

What More Service We Provide
Flipkart Account Management
Grow your business with professional Flipkart Account Management Service. We manage catalogs, pricing, inventory, promotions, account health, and performance to improve product visibility, conversions, and sales.
Flipkart Listing Service
Improve product visibility with our expert Flipkart Listing Service. We optimize product titles, descriptions, categories, attributes, images, and pricing details to create clear, professional listings that improve discoverability and attract more potential buyers.
Flipkart Sales Boost Service
Grow your Flipkart business with our Flipkart Sales Boost Service. We focus on product visibility, pricing strategy, promotions, catalog performance, seller ratings, and account growth to help improve conversions and generate consistent marketplace sales.
All Other Services
We provide complete marketplace services for Amazon, Walmart, eBay and other platforms, including account management, product listings, onboarding and growth solutions to improve visibility and online sales.